
How I Made the Fairy Dragon Body Pattern
Here’s another older archived post. I mentioned making fabric body patterns off of sculptures in my Fish Dragon post, so here’s a little guide of how I do that- enjoy!

So here’s my rough Fairy Dragon sculpture. It isn’t very developed yet, I like to make to body pattern before I put on any real details because its easy to dent your sculpture during the pattern making process.
Step 1: I’m going to gently remove the limbs and tail in order to cover the body with masking tape.
Step 2: Technically we only need a pattern for 1/2 the body. You might notice I sometimes only sculpt half a creature to get the body shape. I draw a line down the center of the body in sharpie, and then focus on the side that I want to get my pattern from.

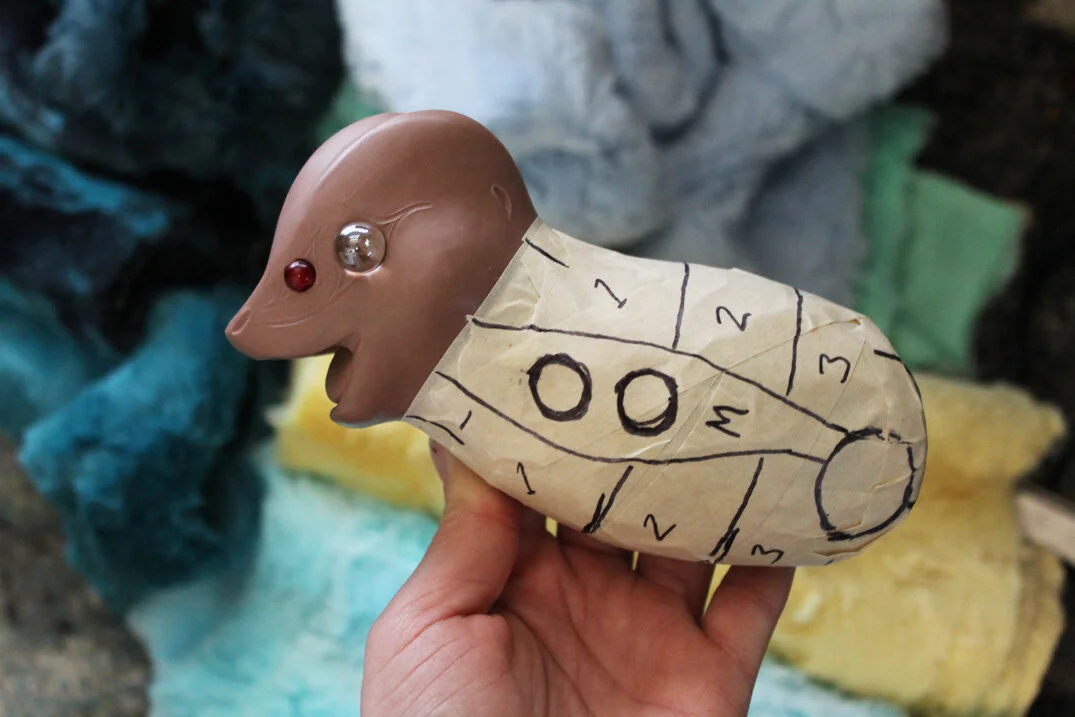
Step 3: I want to use a couple different colors of faux fur on this doll so the dragon will have colorful ‘stripes’ when its done. I’ve divded the body into the different color sections, and added the arm and leg holes.

Step 4: Now that we have our lines drawn, I’m going to use my tiny scissors to cut the tape off the doll and into pieces using my guide lines.

Step 5: You can see some pieces have extra cuts in them. Those lines are called ‘darts’. The thing that’s cool about using masking tape is that it’ll hold its shape once removed from the body. We need the tape to lay flat to get a useable pattern, so anywhere the tape was curved or rounded, I cut a small slit until the piece lay flay again. That’s what creates the darts and will help the pattern re-shape itself when I sew it back together.
Step 6: this is the dragons back leg. I wanted to top of the leg to be encased in fur as well, so I covered it with tape and made a round area where I needed the leg hole to be for the armature to come through.

Step 7: Here’s what the leg pattern looked like after I cut it off. Because the leg is pretty curvy, I had to add a lot of darts, which changes the shape a lot when its lying flat. I also added an arrow for where the leg opening is so I don’t forget!


Step 8: I trace the tape pieces and then throw them away. Now I have my actual pattern on stiff paper that I will use to cut out all my fairy dragon bodies! I added a lot of notes on the pattern itself so I can remember where everything fits. I also added arrows to remind me which direction to sew the pieces in so the fur all faces the same direction (super important when working with faux fur!)
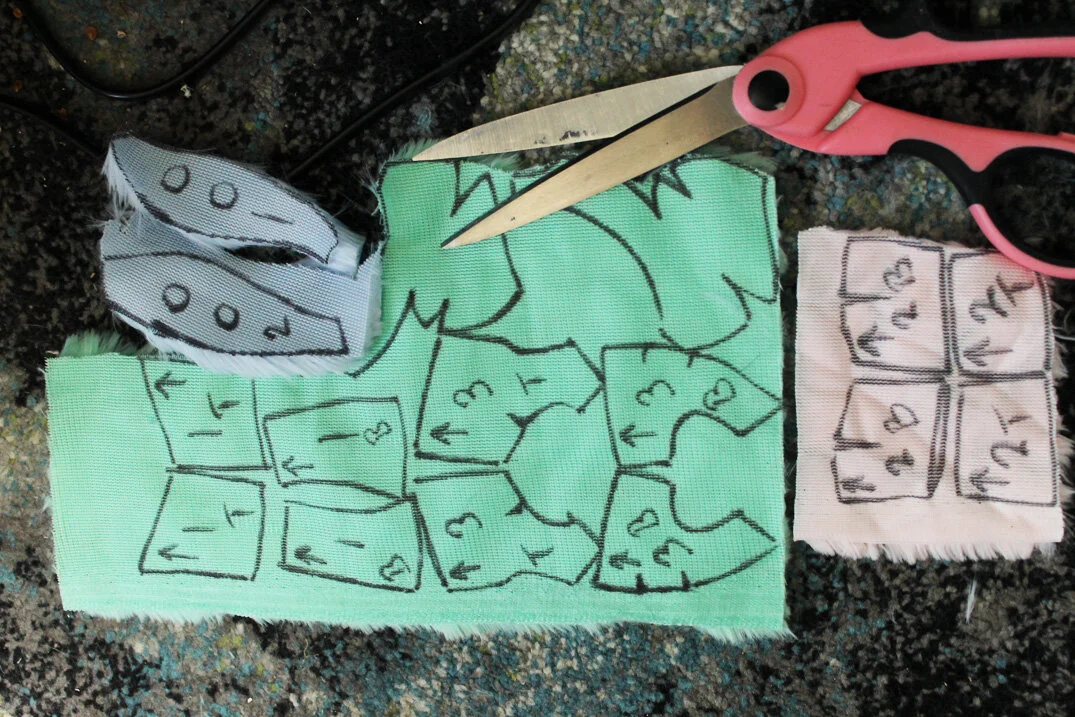

Step 9: Here you can see the traced pattern on the fur I’m going to use. IMPORTANT: don’t forget you only have half a pattern using this method. To get the full pattern of the doll, you need to trace your pattern, the flip it over and trace the mirror image side as well.
Step 10: Sew everything together (both sides of the pattern!). Now you can flip it inside out, and put your doll’s armature inside!
Congrats! You have a full body for your dragon. Unfortunately, making the body is only part of the doll making process. You still need to create an armature, mold and cast your body parts, clean them up, paint them, make wings, and of course actually attach the parts to the fur and stuff the doll….Artdolls aren’t a very easy thing to make!

