
How it's Made: Old Style Jackalopes!
Woo! Happy Monday Creature Keepers- I’m out from under the pre-order pile and able to work on other things again! Thank you for your patience.
To kick posts off again, here’s a comprehensive look at how the old Jackalope design came together. This would be much better and less time-consuming as a video but…I don’t have the setup to make videos at the moment (or the child-free time…she’s very attracted to cameras). So here’s a picture walk-through!

Let’s start here: a plain resin foot straight out of the mold, one that’s been touched up with some apoxie sculpt, and one that’s been base-painted with white paint. This is the first part of the process. When the body parts come out of the mold, I have to clean them up and do touch ups to minor bubbles or imperfections with apoxie sculpt (which is a type of sculpt-able urethane resin). And then everything needs a good coat of white paint before we can even start putting color on!

Ok! So here we go, the base color is on (this jackalope is going to be white, so it got an extra coat of white paint, haha), and the base pink on the paws and ears. Usually I do 1-3 coats of pink paint.

After the parts get their base coat, we start doing washes. To do a wash, you want to pick a color that’s a bit darker than your base color. Then coat the whole part of the color, and gently wipe it away with a damp paper towel, leaving some pigment behind. I’ll do this over every part of the doll to achieve a more realistic look and get the dimension of the body parts to pop.


Here’s a head with the pink parts all washed! The next little part is drilling the horns and painting the eyes. I drill into the faceplate in order to secure the antlers to the head with apoxie sculpt.

Painting the eyes ends up being about 3 coats of iris color to get it nice and even. Then I paint on the pupils, seal it, and give it a good layer of gloss.


Alright, the body parts are all sealed and ready to go. Obviously there’s still more prep work before we assemble the doll: I have to trace, cut and sew the body. I didn’t photograph that part, but here’s the interior skeleton inside the doll and what the body looks like after the parts have been assembled and glued to the body.

(if you are going to work with plastic armature you MUST get some pliers for snapping it together and save yourself tons of tears. These are 1/8th inch armature pliers)

(unsuffed)

(stuffed)

(Fully assembled with faceplate not yet glued)
We’ve got the doll put together and mostly stuffed, now it’s time to put on the ears. I wasn’t able to follow just one doll with photos, but it doesn’t matter! Let’s switch to the pink jackalope now.


Here’s how the ears go on. I decide where to place them and make a small incision in the head fur with my fabric scissors. Then I can put the wire embedded in the ears through the gap and thread it through the hole I drilled in the head earlier. This allows me to wrap the wire around and secure it in place with apoxie sculpt. It’s important to note that the reason I can drill into the head is because the head is cast hollow, like a faceplate, and not as a solid piece of resin. If it was a solid piece of resin, it would be too heavy for the armature to support.


Last thing to do here is use my trusty fabritac insta-grip glue and run a line of it along the base of the ears and the seam of the faceplate. This sticks the fur to the resin, but you want to be sure to push the fur in very gently so the glue doesn’t bleed through and cause clumps.
(oh, and make sure to add a little stuffing to fill up the inside of that hollow faceplate and help support the armature!)


There you go! This is how my dolls are made…pretty much every doll is made in a similar fashion. Now comes the awful part I am cutting out of future designs: apply fur to the face.
You’re going to want to use a brush and a good matte glue that dries clear. I like liquitex medium matte gel.


First I start with fur pieces still attached to the base of the fabric. I put a layer of glue on the underside and slowly cover the parts of the face that need thick fur (the eyebrows, forehead, and apples of the cheeks).
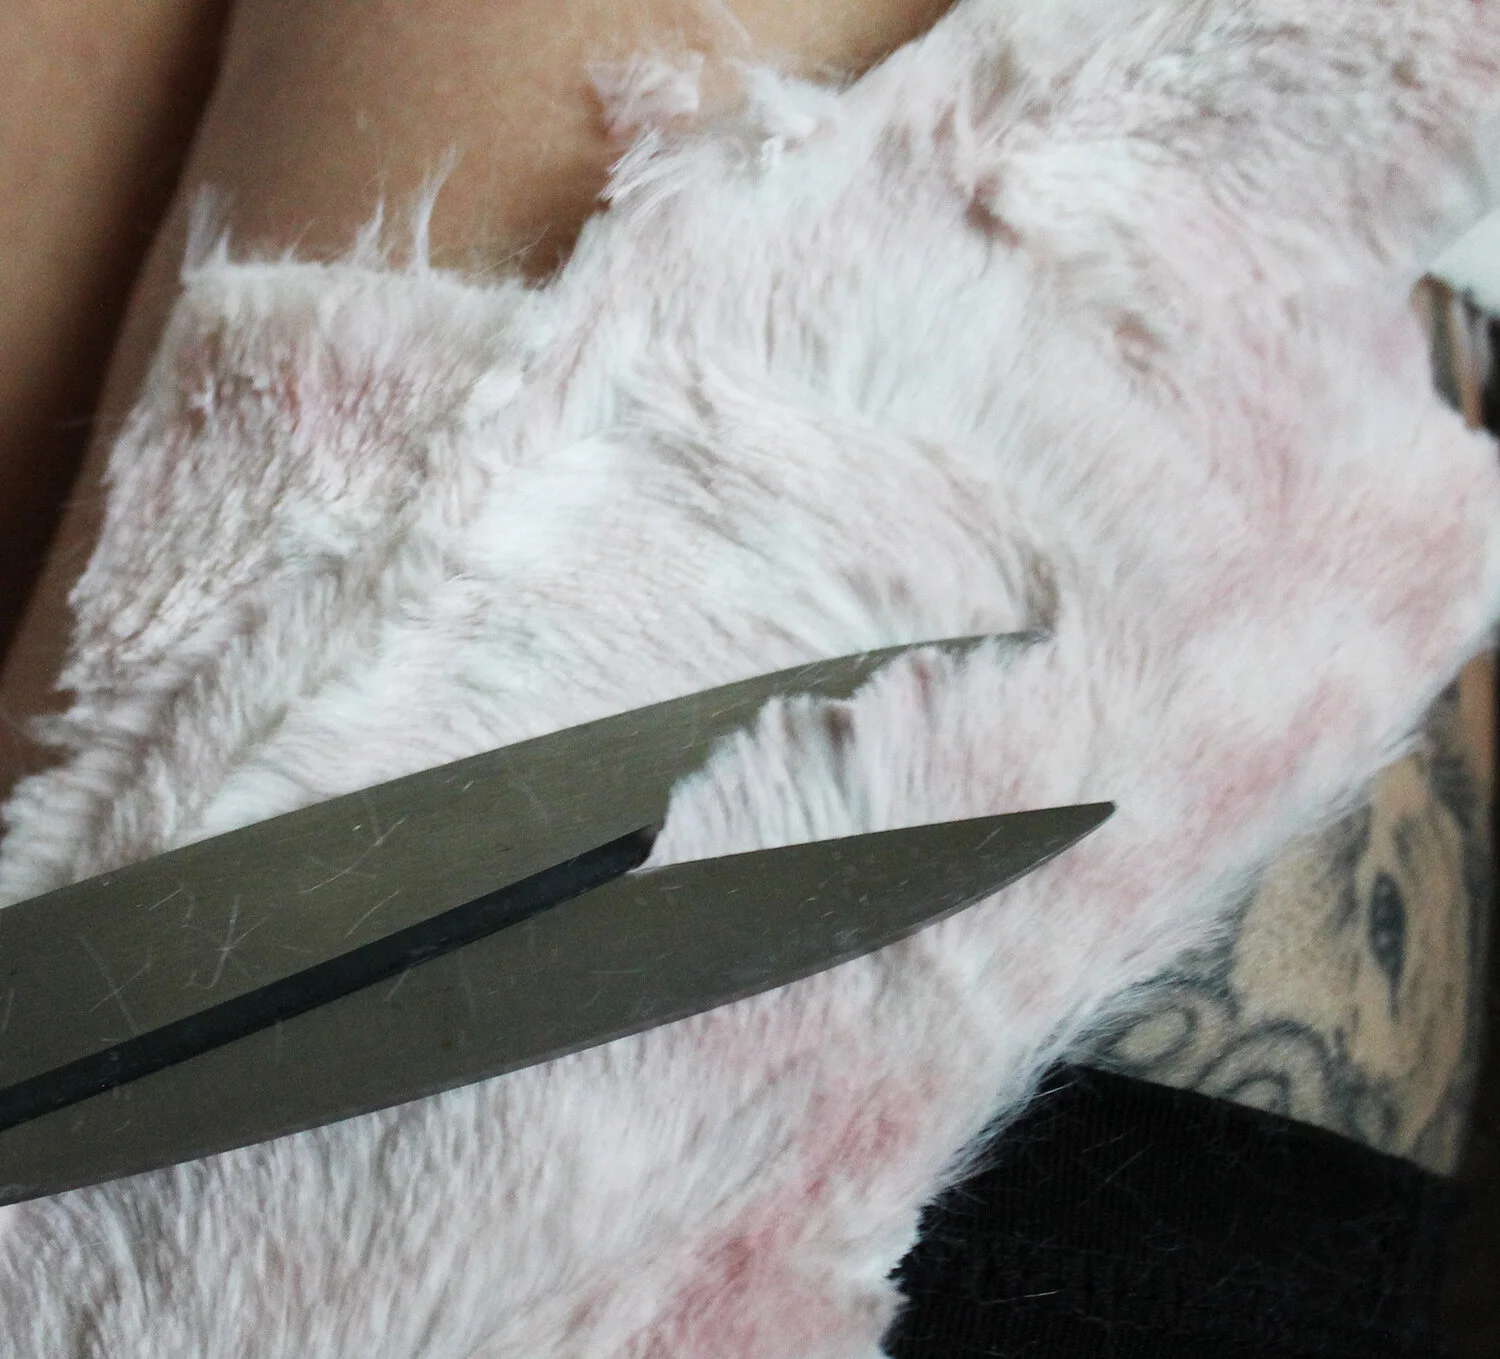
That’s the easy part. Next we need to blend the fur. So I clip small sections of ‘loose’ fur off with scissors. We put a line of glue around the edges of the face and slowly press the cut fur into the glue to create that blended look.


Once we’ve spent approximately 9000 years blending the edges bit by bit, its time to flock the areas that need to be fuzzy but flat.
Put down a layer of glue over the places you want to flock, and then create ‘flocking powder’ by trimming the fur into small, fuzzy lines. The ‘powder’ can then be pressed into the glue and creates the short fuzzy look around the eyes and cheeks.


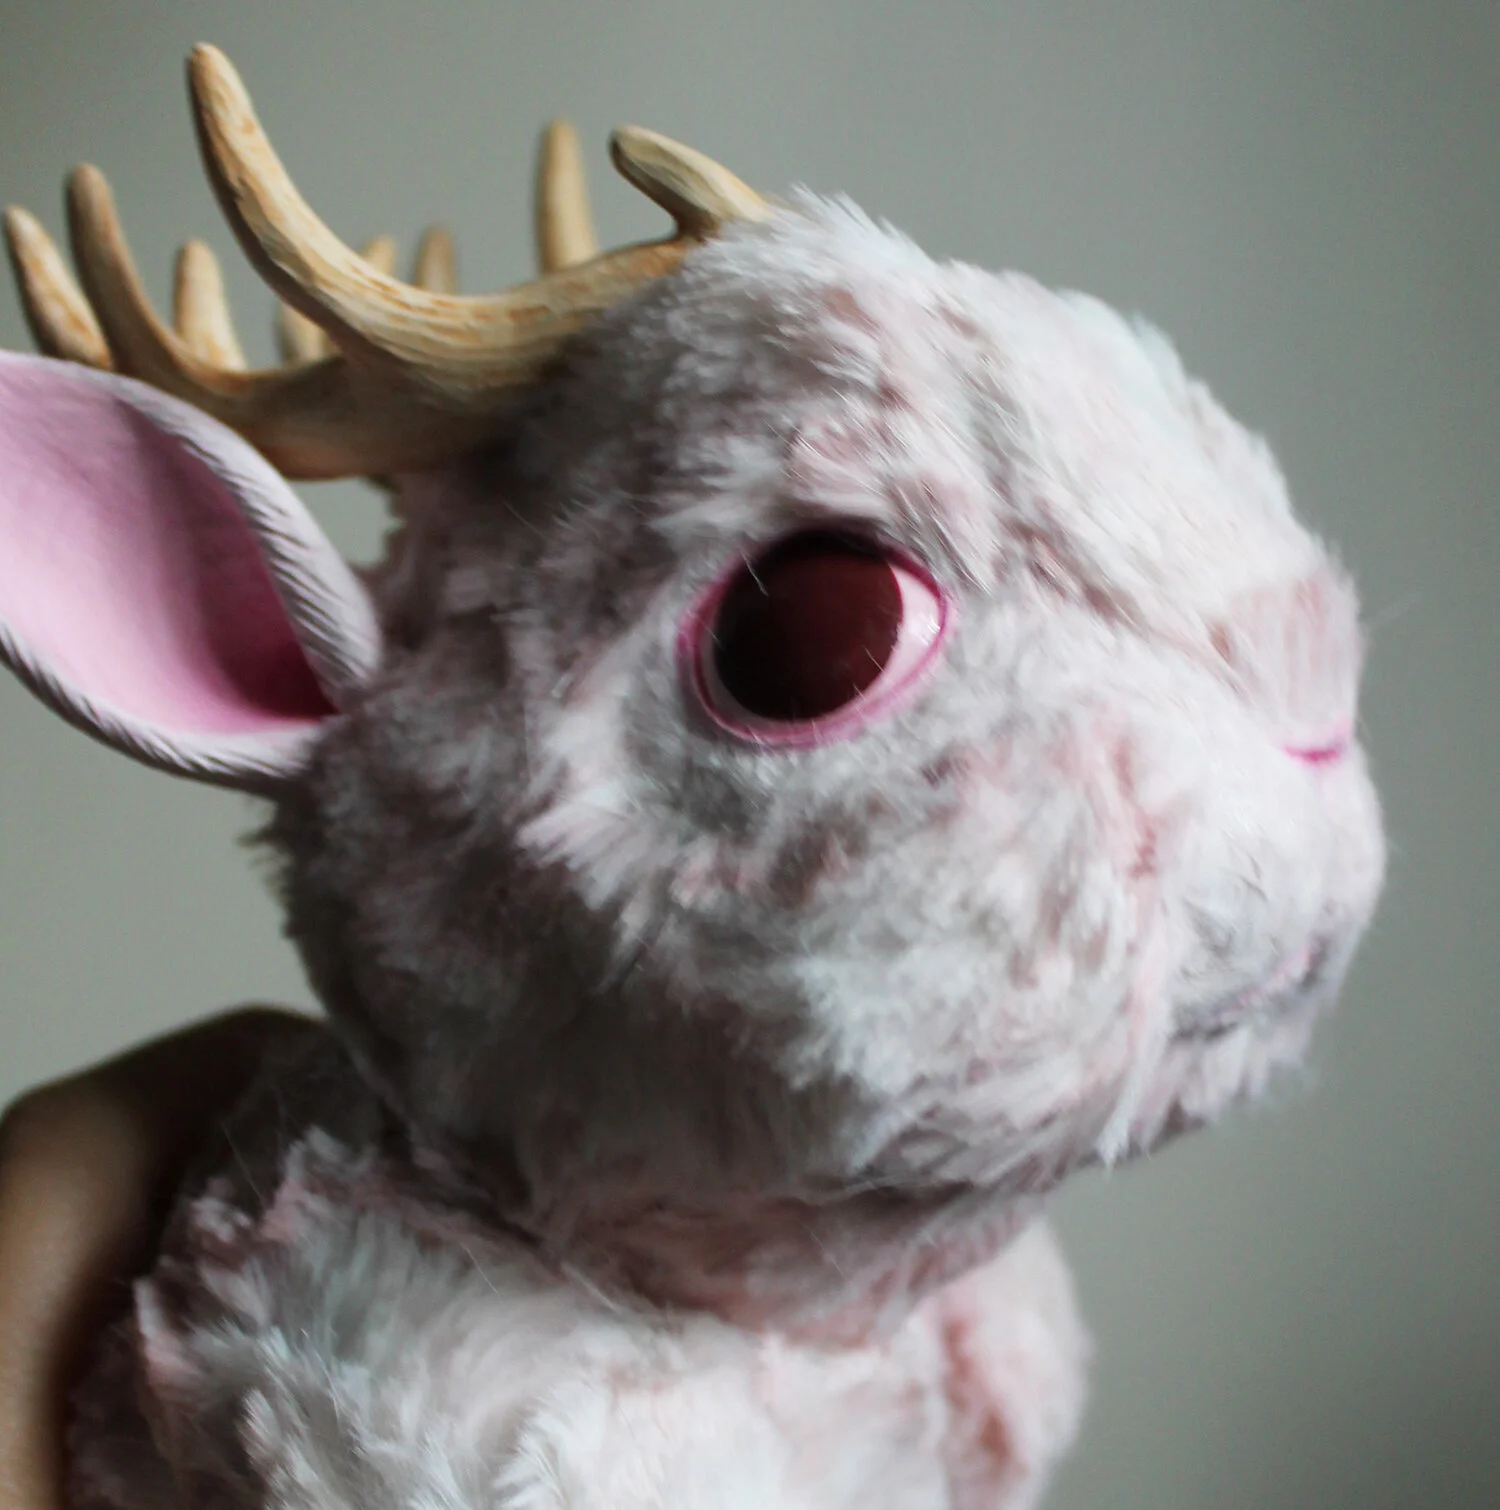

And there you have it! The face-furring method I am no longer using because it comes at the price of your sanity!
As with all my tutorial content, please feel free to try out my method on your own artwork if you like.
I will no longer be producing dolls with furred faces because I value my sanity, but I really do appreciate everyone who has adopted a furred-face doll from me in the past. All my old style jackalopes, including the Pudgy Jackalopes used a version of this method for fur adhesion, so it is an end of an era to be quitting after 8 years of using this technique.
Thank you for everyone’s patience this last month! I’m excited to be posting on here regularly again, and keep an eye on your inbox for our brand new Club Member Newsletters scheduled to go out every Friday starting this week!